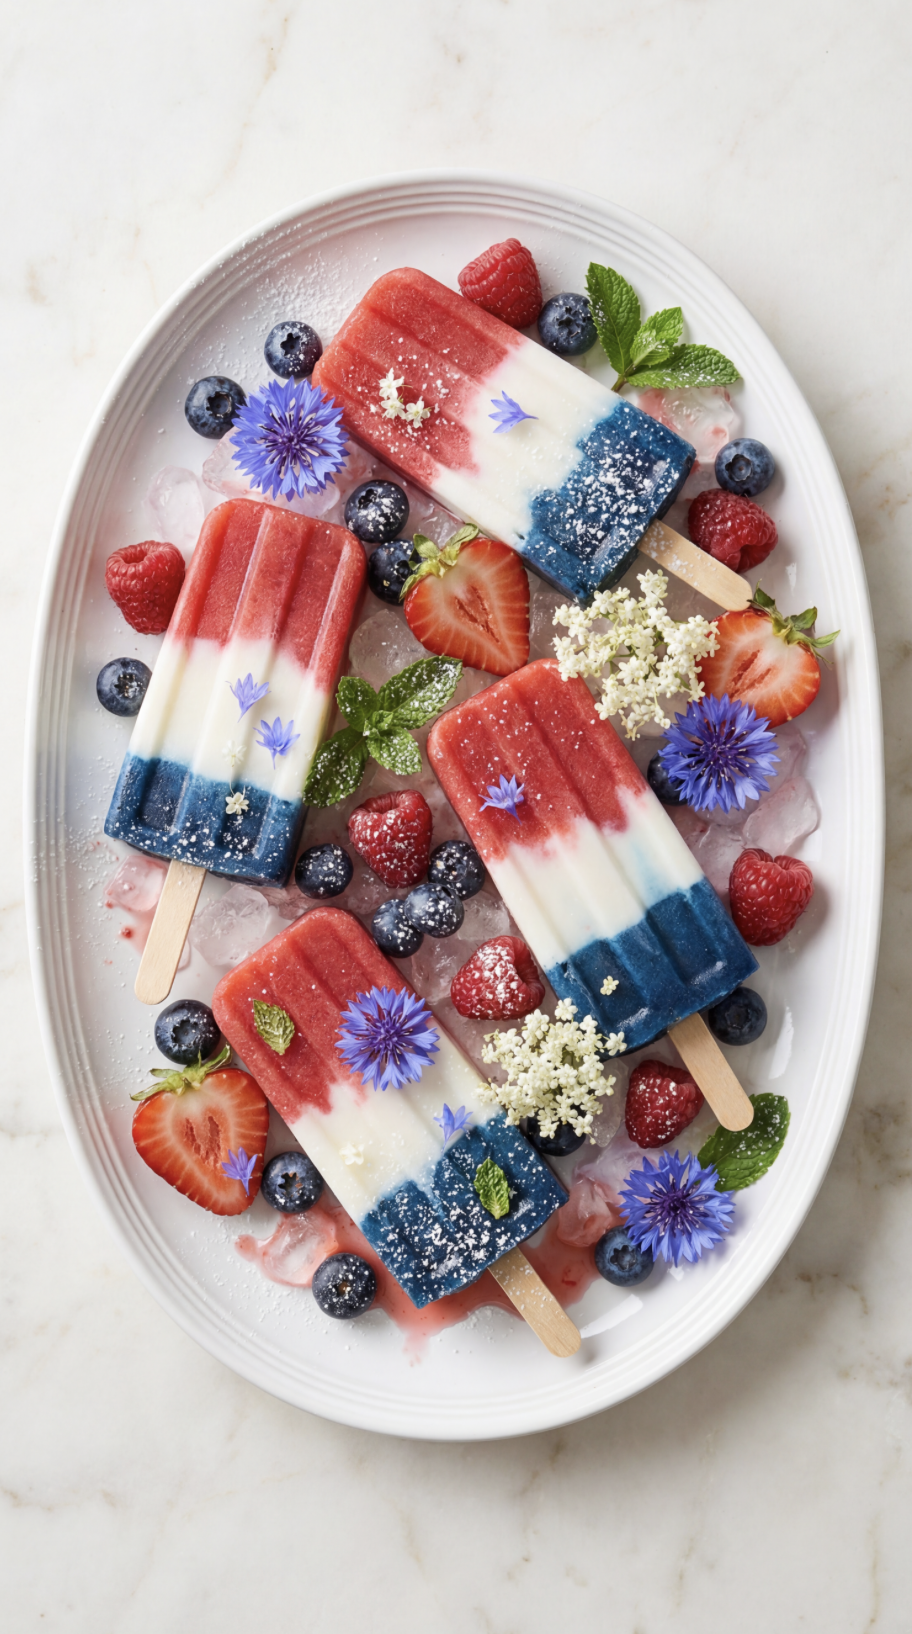
Red, White & Blue Popsicles
Every summer growing up, we’d host a big backyard BBQ for the 4th of July. Water balloons, grilled corn, sticky watermelon fingers, the works. But the one thing we always looked forward to the most? Popsicles. This red, white, and blue version came from a mix of nostalgia and my desire to create something a little healthier for my own family, something colorful and festive, but without the artificial dyes and added sugar overload.
Now, these popsicles are part of our summer tradition. They’re fruity, creamy, and super fun to make with kids. Bonus? They look impressive but are incredibly easy!
Why You’ll Love This Recipe:
Naturally sweetened – No refined sugar, just fruit and yogurt
Festive and fun – Perfect for patriotic holidays like the 4th of July or Memorial Day
Kid-friendly and parent-approved – Healthy ingredients and easy to eat
Make-ahead magic – Prep in advance and pull out whenever the craving hits
Dye-free and wholesome – Vibrant colors made with real strawberries and blueberries
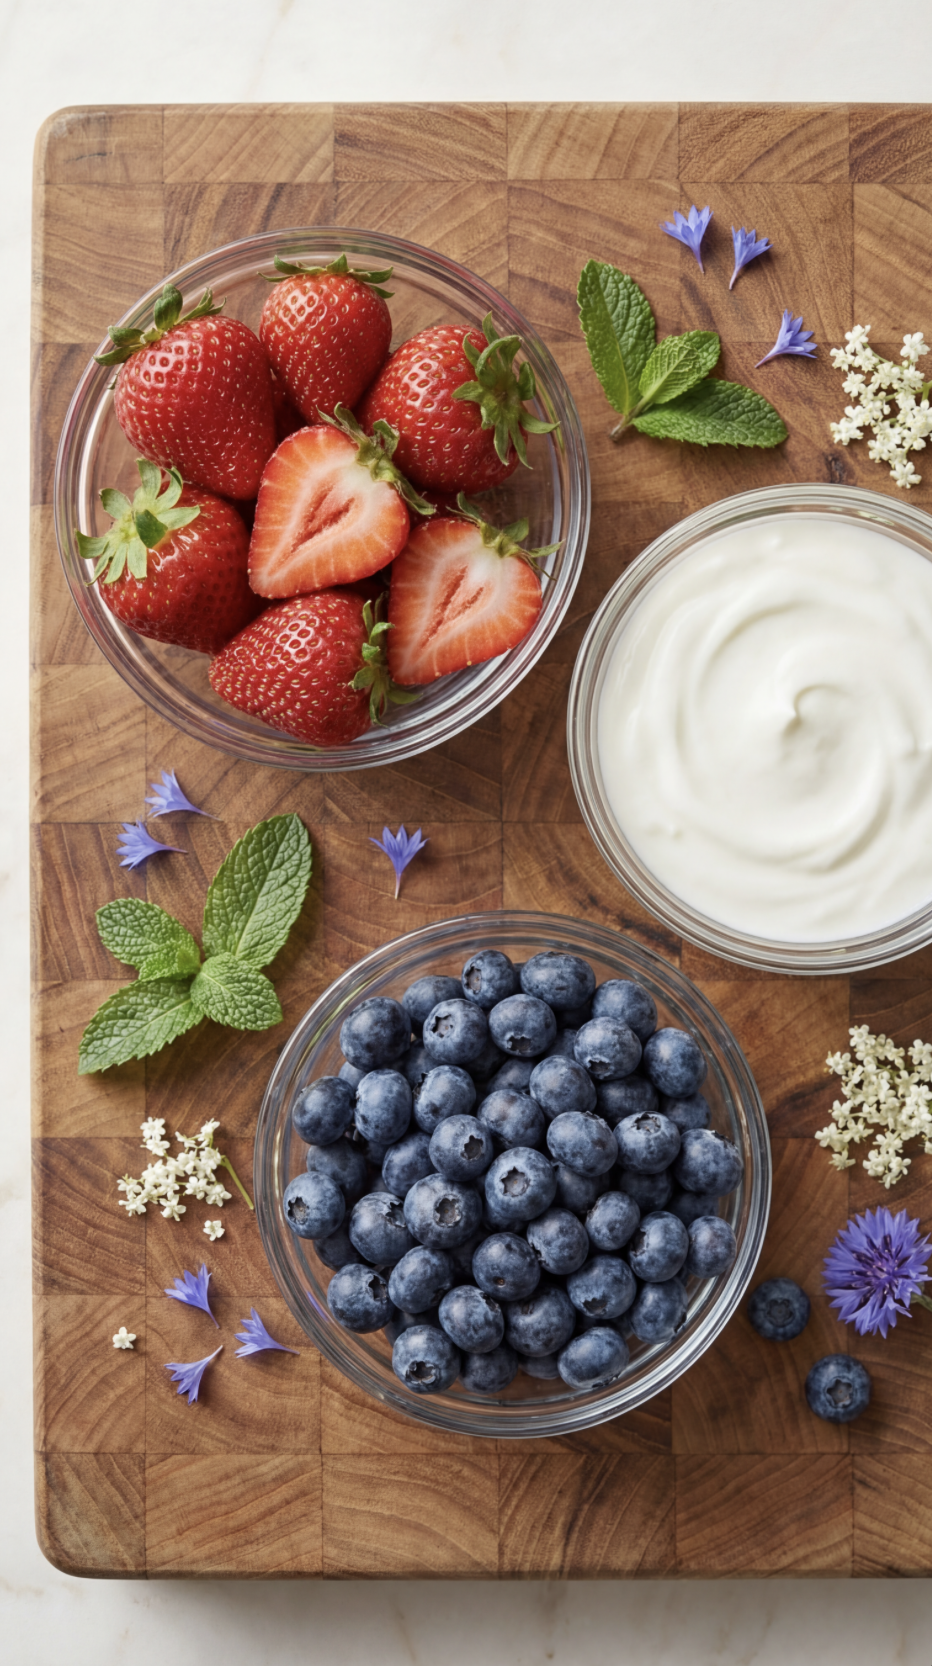
Ingredients List:
fresh or frozen strawberries (hulled)
Plain Greek yogurt (or any yogurt of choice)
honey or maple syrup
vanilla extract
fresh or frozen blueberries
water or lemon juice
There are 4 Steps To Making These Cookies:
Step 1: Make the Strawberry Layer
Blend strawberries, sweetener, and lemon juice until smooth. Pour evenly into the bottom third of popsicle molds. Freeze for 30–40 minutes, or until just firm enough to layer on top.
Step 2: Make the Yogurt Layer
Stir together yogurt, sweetener, and vanilla in a bowl. Spoon yogurt mixture gently on top of the frozen strawberry layer. Insert popsicle sticks at this stage, pressing them into the yogurt layer. Freeze again for 30–45 minutes until mostly firm.
Step 3: Make the Blueberry Layer
Blend blueberries, sweetener, and lemon juice until smooth. Pour on top of the yogurt layer to fill the mold. Freeze for at least 4–6 hours, or overnight, until completely solid.
Step 4: Unmold and Enjoy
Run warm water over the outside of the mold for a few seconds to loosen. Gently pull out popsicles and serve immediately.
Equipment:
Popsicle molds (makes about 10 standard-size popsicles)
Popsicle sticks
Blender or food processor
Tips to Make This Recipe Your Own:
Change the fruit: Try raspberries, cherries, blackberries, or mango for different flavors and color variations.
Use flavored yogurt: Swap in vanilla, coconut, or berry yogurt for extra sweetness or fun twists.
Add texture: Stir in chopped fruit or granola between layers for a crunchy surprise.
Make it creamy: Blend fruit with a bit of coconut milk or banana for a creamier texture.
Turn them into smoothie pops: Blend all layers with yogurt for a marbled, smoothie-style pop.
Storage Tips:
Store popsicles in the mold or transfer them to an airtight container or zip-top freezer bag once fully frozen.
Layer parchment paper between them if stacking to prevent sticking.
Best enjoyed within 2–3 weeks for optimal flavor and texture.
Substitution Tips:
Vegan/Dairy-Free: Use plant-based yogurt like coconut or almond and maple syrup instead of honey.
No blender? Use a fork to mash the fruit as finely as possible for a rustic texture.
Low-sugar option: Skip the added sweetener if your fruit is already ripe and sweet.
No popsicle mold? Use small paper cups with foil tops — just poke a stick through and freeze.
Final Thoughts:
These red, white, and blue popsicles are everything I want in a summer treat — fun, flavorful, festive, and made with real ingredients I feel good about sharing. Whether you're celebrating Independence Day or just need a cool-down after a hot day outside, these popsicles are a go-to in our house.
They’re also a great way to get creative in the kitchen, especially with kids — let them help layer, blend, or pick their favorite fruits. However you make them, these pops are bound to become a summer staple.
Don’t forget to pin this recipe and share the berry love with your friends!
Looking for more 4th of July recipes? Try these below:

Red, White & Blue Popsicles
Every summer growing up, we’d host a big backyard BBQ for the 4th of July. Water balloons, grilled corn, sticky watermelon fingers, the works. But the one thing we always looked forward to the most? Popsicles. This red, white, and blue version came from a mix of nostalgia and my desire to create something a little healthier for my own family, something colorful and festive, but without the artificial dyes and added sugar overload.
Ingredients
- 1 cup fresh or frozen strawberries (hulled)
- 1–2 tablespoons honey or maple syrup (optional)
- 1 tablespoon water or lemon juice
- ¾ cup plain Greek yogurt (or any yogurt of choice)
- 1–2 tablespoons honey or maple syrup
- 1 teaspoon vanilla extract
- 1 cup fresh or frozen blueberries
- 1–2 tablespoons honey or maple syrup (optional)
- 1 tablespoon water or lemon juice
Instructions
Notes
- Change the fruit: Try raspberries, cherries, blackberries, or mango for different flavors and color variations.
- Use flavored yogurt: Swap in vanilla, coconut, or berry yogurt for extra sweetness or fun twists.
- Add texture: Stir in chopped fruit or granola between layers for a crunchy surprise.
- Make it creamy: Blend fruit with a bit of coconut milk or banana for a creamier texture.
- Turn them into smoothie pops: Blend all layers with yogurt for a marbled, smoothie-style pop.
Nutrition Facts
Carbs
8 gCholesterol
1 mgFiber
1 gFat
0 gNet carbs
7 gSat. Fat
0 gSodium
6 mgSugar
6 gProtein
2 gCalories
40