Brown Butter Cherry Chocolate Chunk Cookies
There’s something irresistible about cookies that combine rich, nutty brown butter with juicy bursts of tart cherries and melty chocolate chunks. These cookies taste like comfort and sophistication at the same time but cozy enough for afternoon tea and special enough for holiday trays.
The brown butter brings deep, caramelized flavor that elevates the whole cookie, while the cherries add fresh, fruity contrast. The chocolate chunks melt into pockets of indulgence that make every bite feel warm and satisfying. If you love contrasts in texture and flavor it’s chewy centers, crisp edges, sweet and tart notes. These cookies deliver in every way.
This recipe is also great for bakers of all skill levels. You don’t need advanced techniques or fancy tools, just quality ingredients and a bit of patience while the brown butter does its thing.
Ingredient Notes & Why They Matter
Fresh vs. Dried Cherries
You can use either fresh or dried cherries in this recipe, and each brings something slightly different. Fresh cherries give juicy bursts and a naturally bright note, while dried cherries contribute concentrated sweetness and chewy texture. Either choice works but just be aware that dried cherries will slightly change the texture of the dough and may make the cookies a bit denser.
Chocolate Chunks vs Chips
Using chocolate chunks instead of chips helps the chocolate melt more unpredictably, creating gooey pockets rather than uniform dots of chocolate. Try a high-quality dark or semi-sweet bar and break it into uneven pieces for the best results.
Brown Butter
Browning the butter deepens the flavor of these cookies in a way that regular melted butter can’t match. When you brown butter, the milk solids caramelize and create a toasty, almost nutty aroma that infuses the entire dough. Just be sure to cool it slightly before adding eggs so it doesn’t scramble them.
Sugar Balance
This recipe uses a blend of sugars that affects both flavor and texture. Brown sugar helps keep the interior chewy and adds a bit of molasses warmth, while white sugar helps with spread and crisp edges. Together, they create a classic cookie balance.
Ingredients You’ll Need
Instructions
Step 1: Brown the Butter
In a small saucepan over medium heat, melt the butter. Continue to cook, swirling occasionally, until golden brown and nutty-smelling, about 5–7 minutes.
Step 2: Cool the Butter
Remove from heat and let cool 5–10 minutes.
Step 3: Mix the Sugars
In a large bowl, whisk together brown butter, brown sugar, and granulated sugar until smooth.
Step 4: Add Egg & Vanilla
Whisk in the egg and vanilla extract until glossy.
Step 5: Make the Dough
Stir in flour, baking soda, and salt until just combined. Fold in cherries and chocolate chunks.
Step 6: Chill the Dough
For best results, refrigerate the dough for 30–60 minutes. (This step deepens the flavor and helps prevent spreading.)
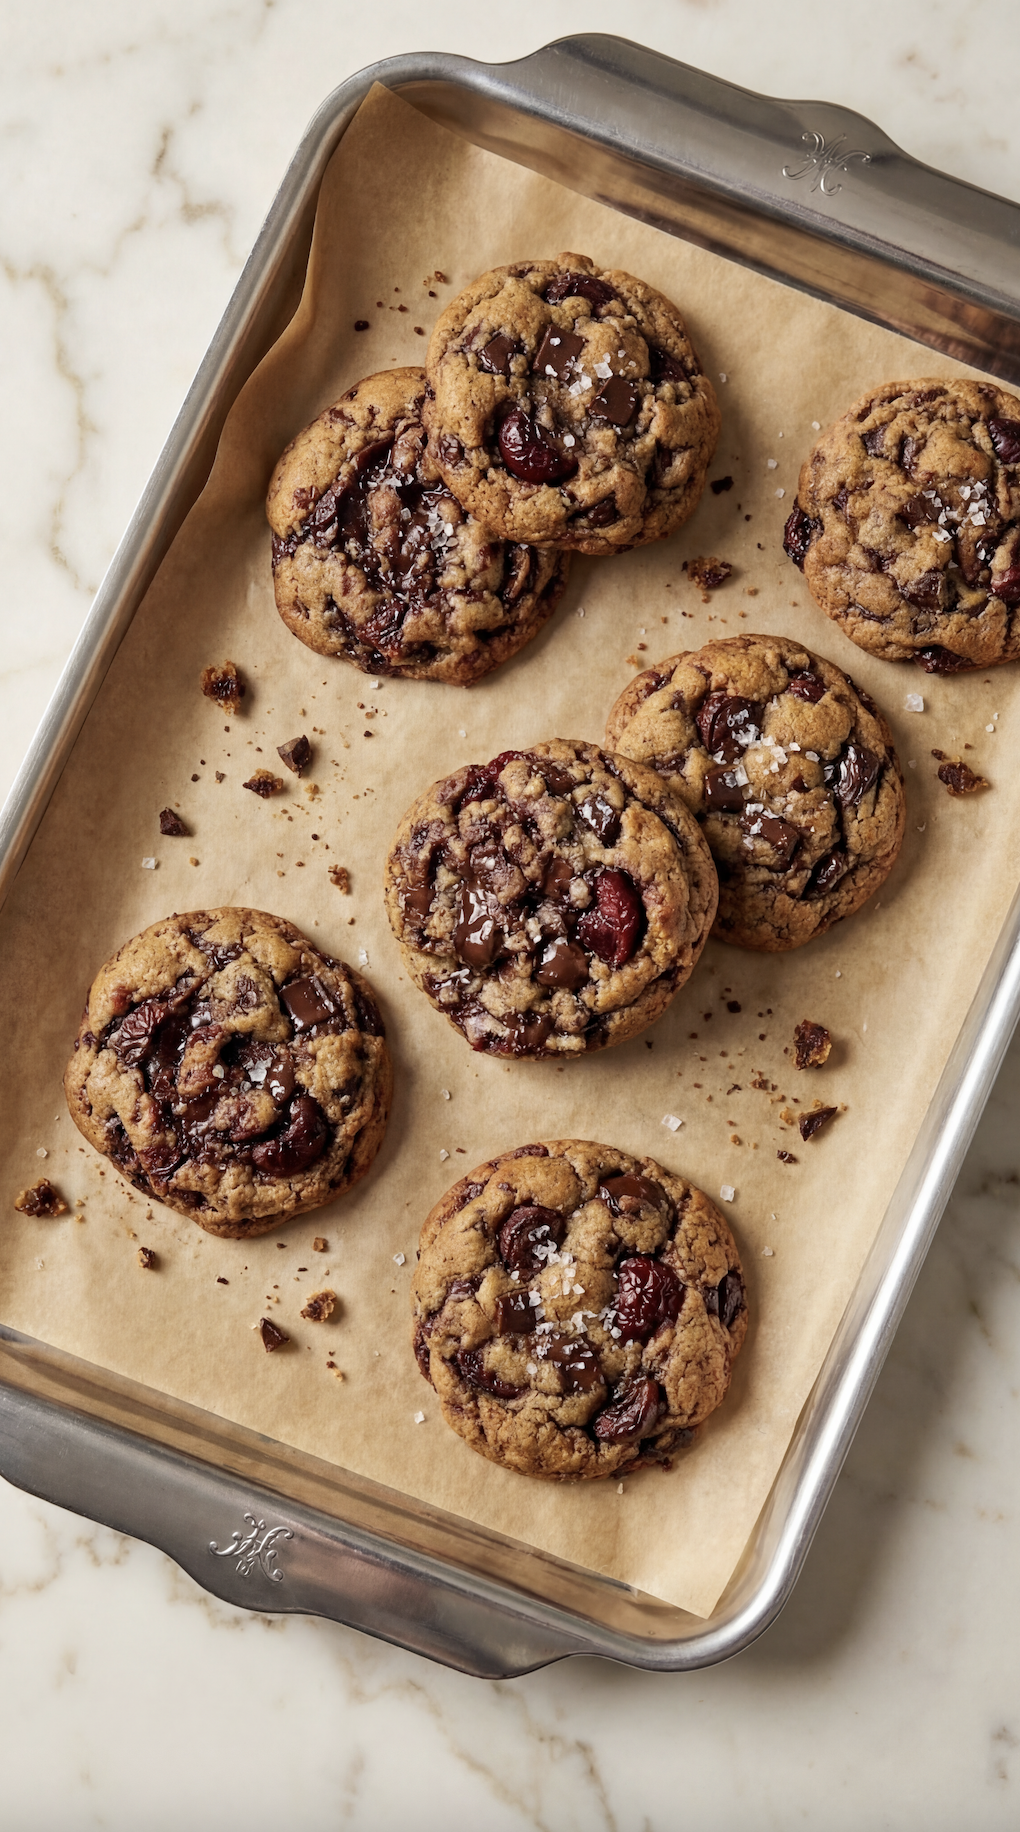
Step 7: Prepare to Bake
Preheat oven to 350°F (175°C). Line a baking sheet with parchment.
Step 8: Scoop the Cookies
Scoop 1½ to 2 tablespoon-sized dough balls and place 2 inches apart.
Step 9: Bake
Bake for 9–11 minutes, until the edges are golden and centers are just set.
Step 10: Cool
Let cookies cool on the baking sheet for 5 minutes before transferring to a wire rack.
Step 11: Finish
Sprinkle with flaky sea salt while warm, if desired.
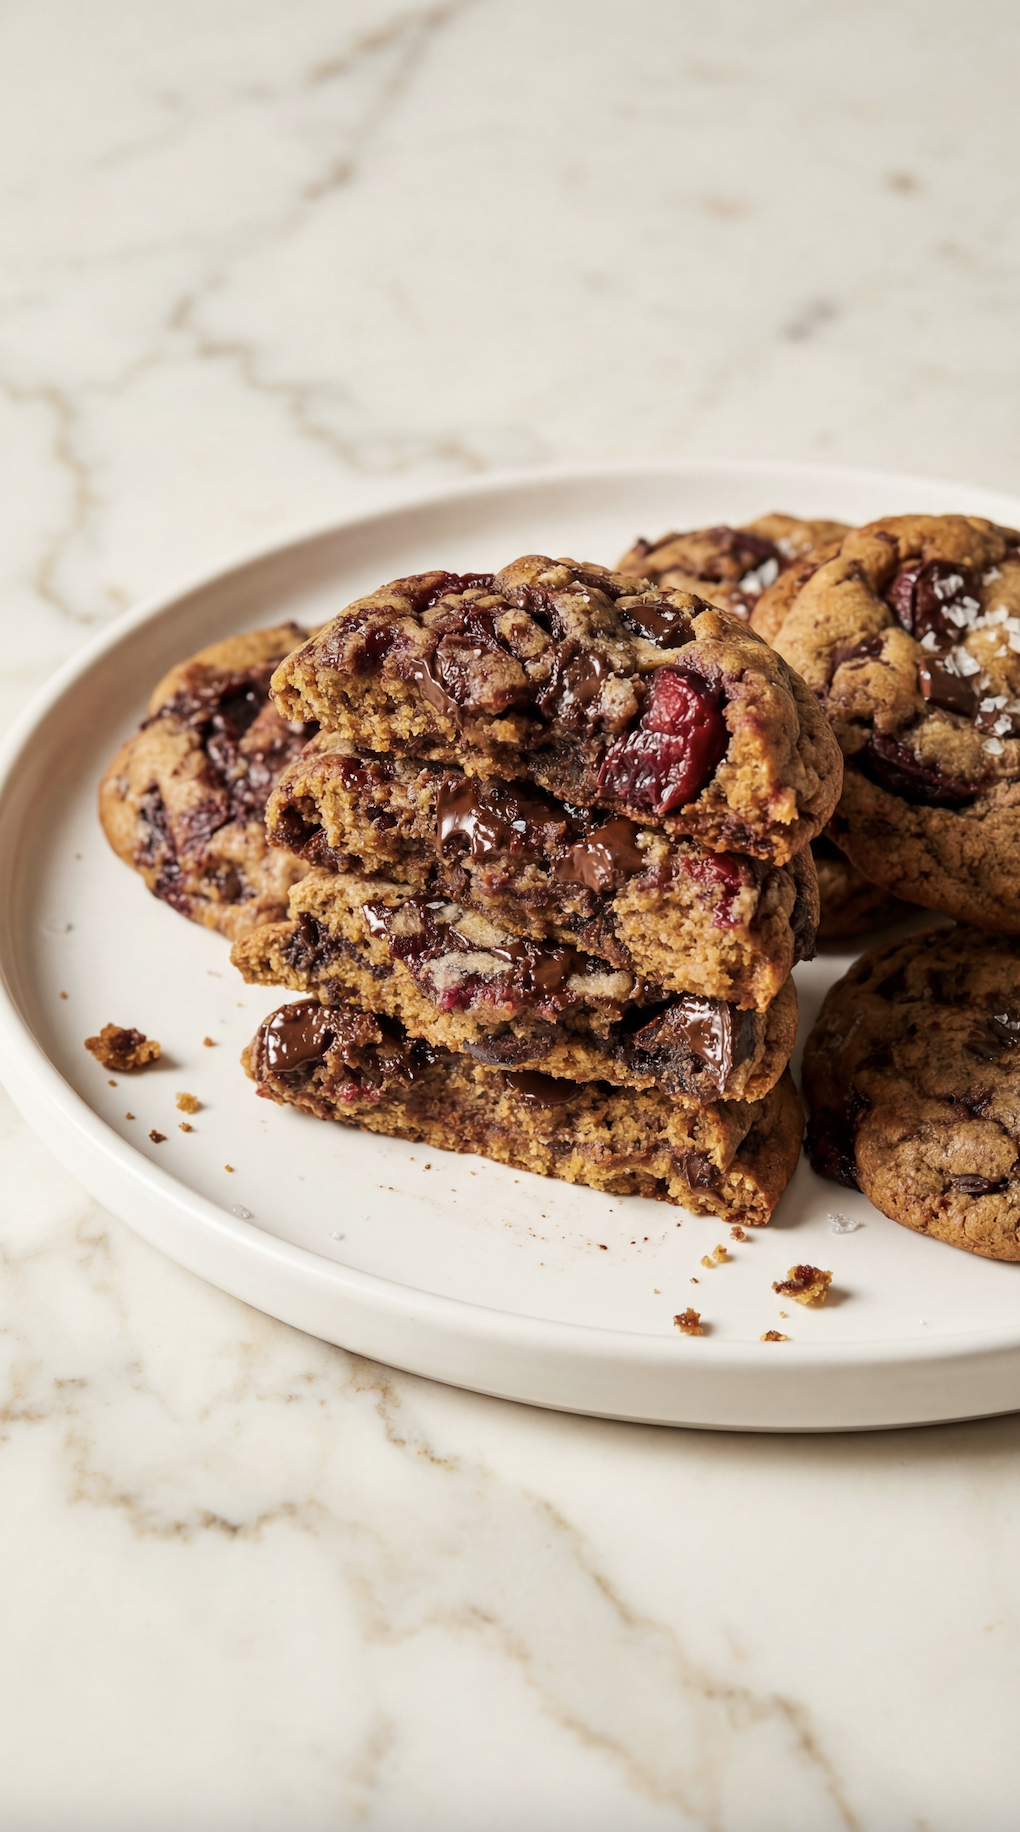
Texture & Flavor Breakdown
When you bite into these cookies, there are a few elements at play:
Crisp edges: where the sugars caramelize and the brown butter adds richness
Chewy middle: thanks to the balanced sugar ratio and properly creamed dough
Juicy cherry pockets: that offer a bright contrast
Melty chocolate: soft ribbons that add sweetness and richness
This combination of textures and flavors is what makes these cookies feel both homey and special, a bit like a bakery treat straight from the oven.
Best Tools for This Recipe
You don’t need fancy equipment, but these tools make the process easier and more foolproof:
A saucepan to brown the butter
A wooden spoon for stirring the butter and dough
Measuring cups/spoons, accurate baking depends on them
A cookie scoop for evenly sized cookies
Parchment paper or a silicone baking mat so cookies bake evenly and release easily
Stainless Steel Baking Sheet for perfectly baked cookies
Serving Ideas
These cookies are delicious on their own, but here are some serving ideas that take them to the next level:
With a glass of cold milk for a classic pairing
Warm with vanilla ice cream for a dessert twist
On a dessert platter with a selection of other cookies for gifting or parties
Because they’re rich and flavorful, a small plate goes a long way, perfect for gifting or sharing.
Storage Tips
Short-Term:
Store baked cookies in an airtight container at room temperature for 2–3 days. Place a sheet of parchment or wax paper between layers so they don’t stick together.
Long-Term:
These cookies freeze beautifully. You can freeze:
Unbaked dough balls: flash freeze on a tray then bag them and bake straight from frozen (add a couple extra minutes).
Baked cookies: wrap individually or layer with parchment in a freezer container.
When you’re ready to enjoy, warm in a low oven for a few minutes to bring back that freshly-baked feel.
Variations You Might Try
This recipe is versatile, here are a few ideas:
Nut addition: Add chopped pecans or walnuts for extra crunch
White chocolate + cherries: Swap dark chocolate chunks for white chocolate for a sweeter profile
Salted finish: Sprinkle a tiny bit of flaky sea salt on top just after baking for contrast
Feel free to experiment based on what you love, just keep the base dough as written.
Origins & Flavor Inspiration
Cookies like these draw inspiration from rich, buttery European cookie traditions while incorporating bright fruit and chocolate are a combination beloved in many American bakeries. Brown butter itself is a classic technique that turns simple cookie dough into something unforgettable. Home bakers have championed brown butter cookies for years because that toasty flavor either brings nostalgia or becomes an instant favorite.
FAQ
Q: Why brown the butter?
A: Browning adds depth of flavor and it’s richer and more aromatic than plain melted butter.
Q: Can I use all dried cherries?
A: Yes, they add chewiness and concentrated cherry flavor.
Q: What if my cookies spread too much?
A: Slightly chill the dough before baking, this helps them hold shape.
Q: Can I use chocolate chips instead of chunks?
A: Absolutely, chips will work, though chunks melt more irregularly for larger pockets of chocolate.
Final Thoughts
These brown butter cherry chocolate chunk cookies are more than just a cookie, they’re a little celebration in every bite. From the toasty aroma of brown butter to the juicy cherry notes and melty chocolate, they’re the kind of treat that makes people smile. Whether you’re baking for a cozy evening at home, a festive gathering, or a thoughtful gift, this recipe is reliable, delicious, and memorable.
Looking for more cookie recipes? Try these favourites!

Brown Butter Cherry Chocolate Chunk Cookies
There’s something irresistible about cookies that combine rich, nutty brown butter with juicy bursts of tart cherries and melty chocolate chunks. These cookies taste like comfort and sophistication at the same time but cozy enough for afternoon tea and special enough for holiday trays.
Ingredients
- ½ cup unsalted butter
- ½ cup brown sugar, packed
- ¼ cup granulated sugar
- 1 large egg
- 1 tsp vanilla extract
- 1¼ cups all-purpose flour
- ½ tsp baking soda
- ¼ tsp salt
- ½ cup dried tart cherries, roughly chopped
- ¾ cup dark chocolate chunks or chopped dark chocolate bar
- Optional: flaky sea salt for topping
Instructions
Notes
Don’t skip the brown butter, it’s what gives these cookies their signature rich flavor
Rough-chop your chocolate to get melty puddles and crispy bits
Use tart dried cherries (not sweetened) for the best contrast
Chill the dough if time allows, it improves both flavor and texture
Nutrition Facts
Carbs
22 gCholesterol
27 mgFiber
1 gFat
10 gNet carbs
21 gSat. Fat
6 gSodium
97 mgSugar
12 gProtein
2 g